



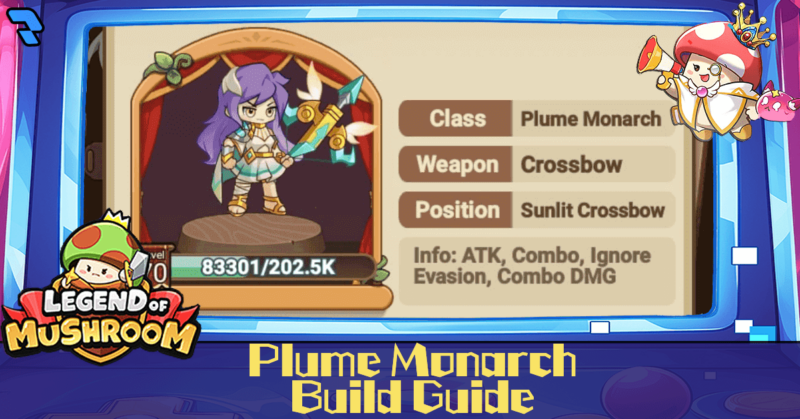
While the Sacred Hunter demolishes foes through devastating Critical Hits, a Plume Hunter is a bit more ‘hardcore'.
Their kit goes all-in into Combos, giving them the edge in battle right from the start purely on Basic Attacks alone (doesn't rely on Skills too heavily)! If you're considering this class for your evolving Shroomie, these are our recommended Plume Monarch builds.
Plume Monarch Best Builds

In Legend of Mushroom, the Plume Monarch might not be as tanky as the Martial Sage, but their unstoppable Combos ensure they deal the finishing blows first.
So, in terms of the best builds, the Plume Monarch prioritizes Attack Speed, Combo Rate, Combo Damage, and Criticals. As such, you should build your character like this:
Relentless Combo Build

Exploiting the Plume Monarch's powerful Passive Skills favoring Combo Damage, your setup needs to improve Attack, Attack Speed, Combo Rate, and Critical Rate.
These combine to make your attacks among the most destructive in the game, letting you overpower foes long before they can do the same to you.
Stats

| Stat | Description |
|---|---|
| Attack | Increases the amount of outgoing damage applied. |
| Attack Speed | Number of attacks performed per second. |
| Combo (Combo Rate) | The chance for multiple hits to be performed by a single Basic Attack. |
| Combo Multiplier (Combo Damage) | The percentage of damage applied to a Basic Attack upon a successful Combo. |
Noting how the Plume Monarch's kit revolves around Basic Attacks, these stats are definitely the most important ones to you.
Skills

| Skill | Effect(s) |
|---|---|
 Windborne Arrow | Deals more than 2000% damage before inflicting Vulnerability* (5s). *Vulnerability: Enemies affected suffer an additional 100% damage from non-skill damages Cooldown: 19 seconds |
 Clone Strike | Summons a clone of your character, borrowing 30% of their HP and dealing 200% Basic Attack Damage (10s). Cooldown: 29 seconds |
 Wild Gust | Inflicts upwards of 2000% AoE damage while increasing Attack by 15% (5s). Cooldown: 16 seconds |
 Smoke Bomb | Inflicts more than 2000% AoE damage before increasing the damages taken by affected enemies by 30% (5s). Cooldown: 13 seconds |
 Coin Bomb | Deals more than 1000% Damage while increasing Basic Attack Damage by 35% (5s). Cooldown: 13 seconds |
The best Skills for this Plume Monarch build should look like this, with Windborne Arrow and Clone Strike offering the highest DPS potential.
Besides that, the others complement your build by adding more to your Attack and Basic Attack Damage while debuffing foes for them to suffer even more damage.
You can't seem to get them in-game? Read our Skill Coupon guide to improve your chances of getting them more frequently!
Pals

| Pal | Effect(s) |
|---|---|
 Pirate Octopus | Combo Damage is increased by 60%. After every 3 successful Combos, the next Combo Damage is increased by another 200%. |
 Treasure Dragon | Increases Basic Attack Critical Damage by 50% and Skill Critical Rate by 20%. |
 Righteous Banana | Increases Combo by 10%. Increases Combo Damage by 100%. |
 Hero Bird | Increases Attack Speed by 15%. |
 Chicken Hood | Increases Basic Attack Damage by 30%. |
Moving on to the best Pals, those that cover Basic Attacks and Combos are the most valuable, justifying the inclusion of the Pirate Octopus, Treasure Dragon, and even Chicken Hood.
Relics

| Relic | Effect(s) |
|---|---|
 Arrow King Mask | Increases Combo by 10%. |
 Gilded Eggshell | Every 10 seconds, Chicken Pals continuously throw 5 eggs, dealing a total of more than 400% damage. |
 Metamorphic Crystal | Increases the Attack Speed of Dog, Fox, and Octopus Pals by 5.56%. |
 Flame Book | Upon entering battle, Attack is increased by 1% every second (up to a maximum of 10%). |
 Crystal Statue | Improves the effects of Coin Bomb, Slime Bomb, and Meteor Fall by 30%. |
 Abyss Necklace | Increases the damage of Dragonic Resonance, Windborne Arrow, and Crimson Moonfall by 30%. |
Your Relics should also focus on improving your Plume Monarch's final damage output, and these do that by enhancing the chosen Skills and Pals.
Souls

| Soul | Effect(s) |
|---|---|
 Bloodstained Blade | Global Attack + Healing Rate + |
 Guardian Star | Critical Resistance + Pal Critical Rate + Pal Critical Damage + |
 Eye of the Abyss | Critical Damage Bonus Skill Crit Damage + |
 Blade Duo | Combo Damage + Boss Damage + |
 Wildfire Piercer | Basic Attack Damage + Skill Damage + |
 Basic Attack Damage | Basic Attack Damage + |
 Combo Damage | Combo Damage + |
 Attack | Attack + |
In terms of Souls, these offer the most value thanks to their huge stat buffs. Ideally, get those that maximize your Basic Attack, Attack, Combos, and Criticals.
Prayer Statue
| Stat Bonus |
|---|
| Global Attack |
| Global Combo Damage |
| Critical Damage Bonus |
| Boss Damage |
| Etc. |
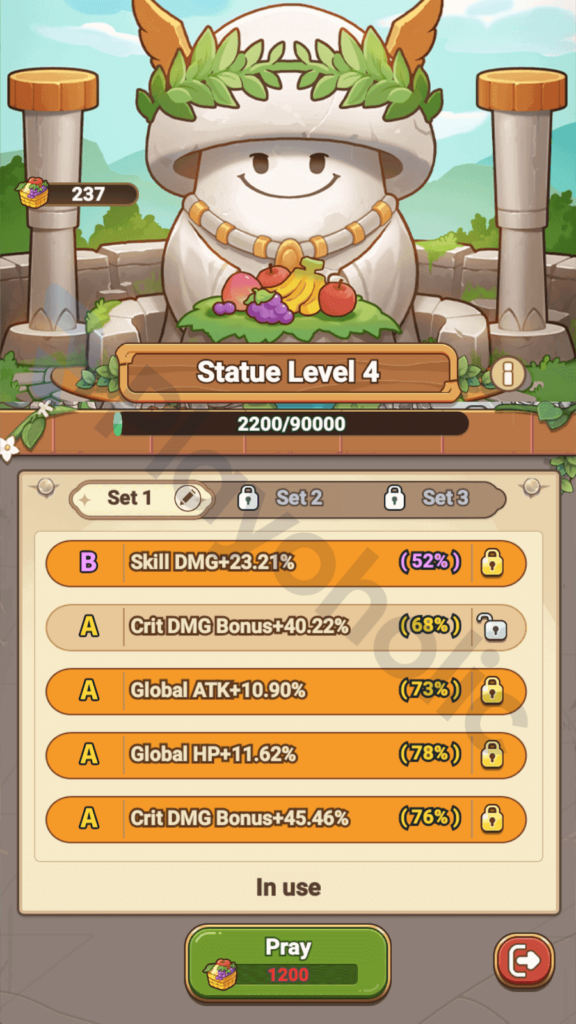
Next, visit the Prayer Statue and do your best to get these affixes.
Noting how they are randomly generated, lock those you manage to unlock while continuously refreshing the others to replace the unwanted ones.
Penetrating Combo Build
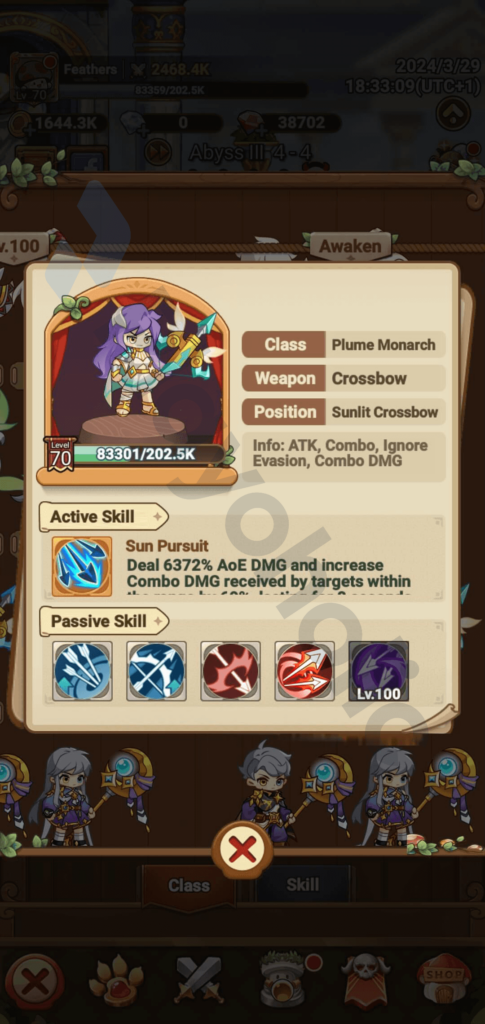
Instead of increasing the number of Basic Attacks your Shroomie can handle (via Combos), you can adopt another Plume Monarch build elevating your character's Criticals.
The Plume Monarch already enjoys amazing Combo improvements thanks to their Passive Skills, so you can instead make each one deal nearly double their damage (or more) this way.
Stats

| Stat | Description |
|---|---|
| Attack | Increases the amount of outgoing damage applied. |
| Attack Speed | Number of attacks performed per second. |
| Combo (Combo Rate) | The chance for multiple hits to be performed by a single Basic Attack. |
| Combo Multiplier (Combo Damage) | The percentage of damage applied to a Basic Attack upon a successful Combo. |
| Critical (Critical Rate) | The chance to enhance Basic Attack Damage, Combo Damage, or Counter Damage. |
| Critical Damage | The percentage of extra damage applied to Basic Attack Damage, Combo Damage, or Counter Damage. |
Generally, you'll be adding values to your Attack, Attack Speed, Critical Rate, and Critical Damage. These ensure your Combos bring even more pain to your enemies, particularly Bosses and PvP opponents.
That being said, getting your Combo Rate as close to 100% as possible is as important to get those tremendous DPS values consistently, so don't neglect it.
Skills

| Skill | Effect(s) |
|---|---|
 Worldly Snare | Deals more than 5000% damage and increases Critical Rate by 10%. Every 1% Critical Rate increases Critical Damage by 3% (5s). Cooldown: 24 seconds |
Windborne Arrow | Deals more than 2000% damage before inflicting Vulnerability* (5s). *Vulnerability: Enemies affected suffer an additional 100% damage from non-skill damages Cooldown: 19 seconds |
Clone Strike | Summons a clone of your character, borrowing 30% of their HP and dealing 200% Basic Attack Damage (10s). Cooldown: 29 seconds |
Wild Gust | Inflicts upwards of 2000% AoE damage while increasing Attack by 15% (5s). Cooldown: 16 seconds |
Smoke Bomb | Inflicts more than 2000% AoE damage before increasing the damages taken by affected enemies by 30% (5s). Cooldown: 13 seconds |
The Skills chosen for this Plume Monarch build are identical to the previous one except for the top-tier Worldly Snare. With it, your Critical Hits deal even more phenomenal damage!
Pals

| Pal | Effect(s) |
|---|---|
Pirate Octopus | Combo Damage is increased by 60%. After every 3 successful Combos, the next Combo Damage is increased by another 200%. |
Treasure Dragon | Increases Basic Attack Critical Damage by 50% and Skill Critical Rate by 20%. |
Righteous Banana | Increases Combo by 10%. Increases Combo Damage by 100%. |
Hero Bird | Increases Attack Speed by 15%. |
Chicken Hood | Increases Basic Attack Damage by 30%. |
For your Pal selection, keep the earlier Plume Monarch build's lineup. They synergize impeccably with this Critical-based Combo setup too.
If you're having trouble summoning them, check out our Pal Coupons guide to improve your odds.
Relics
| Relic | Effect(s) |
|---|---|
Arrow King Mask | Increases Combo by 10%. |
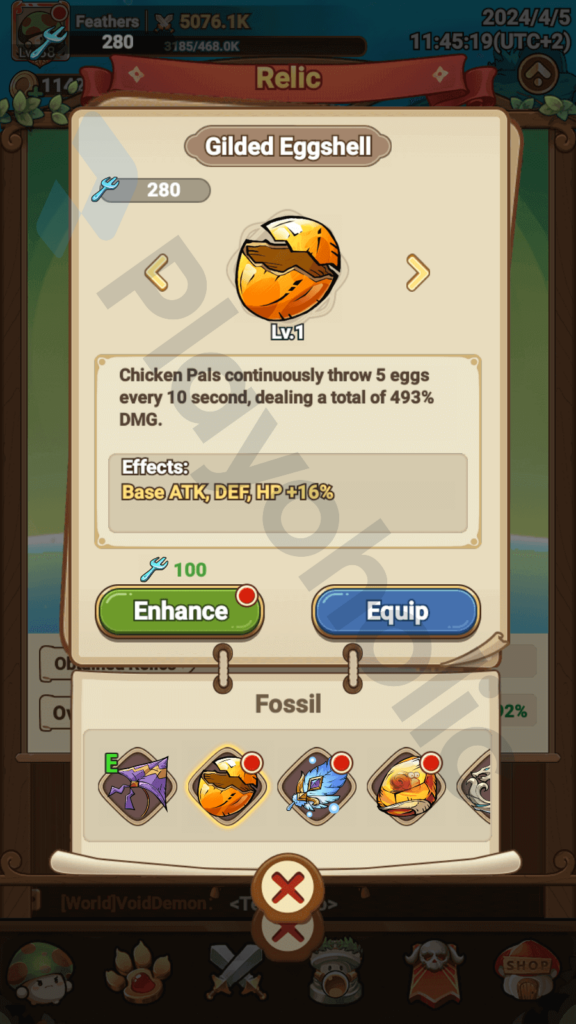
Gilded Eggshell | Every 10 seconds, Chicken Pals continuously throw 5 eggs, dealing a total of more than 400% damage. |
Metamorphic Crystal | Increases the Attack Speed of Dog, Fox, and Octopus Pals by 5.56%. |
Flame Book | Upon entering battle, Attack is increased by 1% every second (up to a maximum of 10%). |
 Stellar Statue | The duration of Hundred Slashes, Worldly Snare, and Star Array is increased by 50%. |
Abyss Necklace | Increases the damage of Dragonic Resonance, Windborne Arrow, and Crimson Moonfall by 30%. |
For this build, only the Stellar Statue replaces the Crystal Statue, to improve the newly-added Worldly Snare. Otherwise, everything else should stay the same.
Souls

| Soul | Effect(s) |
|---|---|
Bloodstained Blade | Global Attack + Healing Rate + |
Eye of the Abyss | Critical Damage Bonus Skill Crit Damage + |
Blade Duo | Combo Damage + Boss Damage + |
Wildfire Pierce | Basic Attack Damage + Skill Damage + |
Basic Attack Damage | Basic Attack Damage + |
Combo Damage | Combo Damage + |
 Critical Damage Bonus | Critical Damage Bonus |
Attack | Attack + |
The Souls matching this build are those that complement Basic Attack, Combos, and Criticals, but it'll probably take a while for you to unlock them all as a free-to-play (F2P) player.
So, get your Skills and Pals prepared during the early-to-mid game beforehand.
Prayer Statue

| Stat Bonus |
|---|
| Global Attack |
| Global Combo Damage |
| Critical Damage Bonus |
| Boss Damage |
| Etc. |
Finally, these affixes are what you should look for from the Prayer Statue.
Same as Souls, you'll need to grind and refresh them repeatedly to get what you want, so it might be worth your time to read up on our Shroomie Farm and Prayer Statue guide as well.
Conclusion

The Plume Monarch is just one of Joy Nice Games‘s many Legend of Mushroom classes you can play in the game. It's clearly not the easiest to build, but the huge DPS potential justifies the means.
Still, if you're on the fence about choosing this class, you might want to check out our class tier list to see how the Plume Monarch fares against the other end-game alternatives.