





Bow and arrows at the ready, a Sacred Hunter is adept at dispatching foes in mere seconds. Benefitting from Attack Speed and Critical bonuses, your Shroomie could become one of the most fearsome fighters in Legend of Mushroom when built correctly.
If you're aiming for the same thing, our Sacred Hunter build guide here can help you achieve that, so read on to understand more.
Best Sacred Hunter Builds
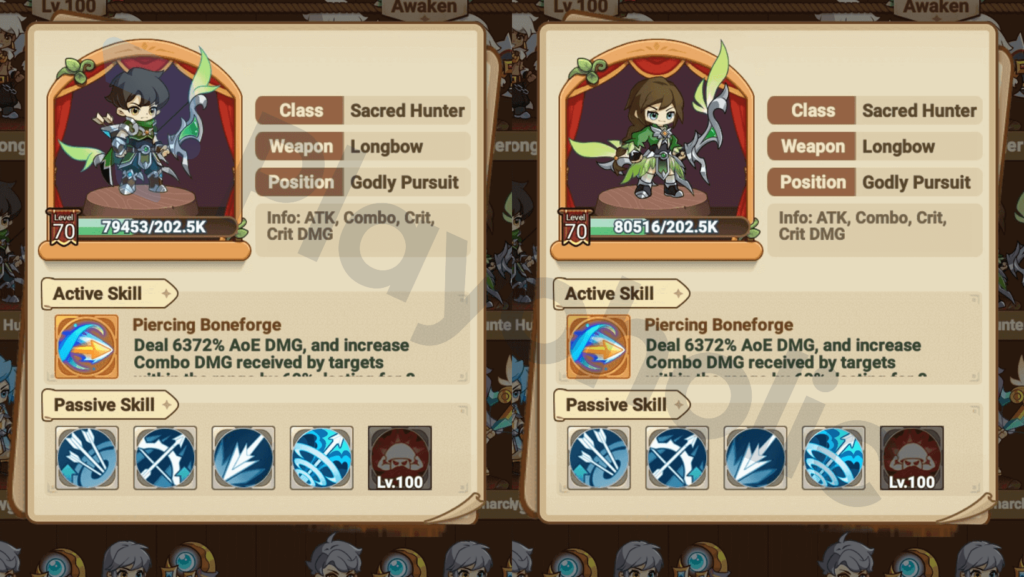
Despite being an AFK auto-battler, Legend of Mushroom‘s diverse classes is one of the game's most appealing aspects. However, when comparing all of them, the Sacred Hunter is probably the most ruthless and dangerous.
Being one of two (2) end-game vocations for the Archer, the Sacred Hunter's kit revolves around offensive attributes, primarily Combo, Attack Speed, Critical Damage, and Basic Attack.
Sacred Hunters are fun to play but are balanced by their subpar Defense and HP. So, a great Sacred Hunter build maximizes their strengths to compensate for their shortcomings, and this is our recommended profile for the class:
Combo DPS Build
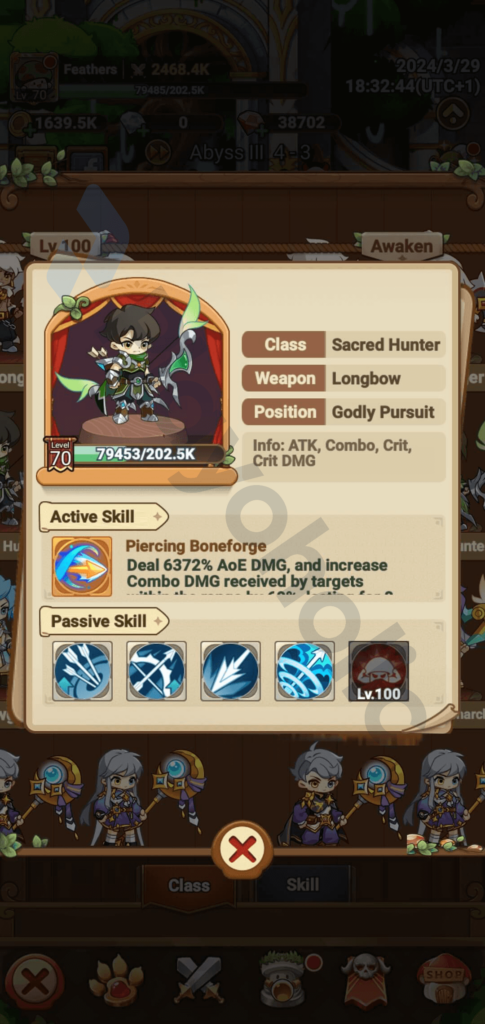
When identifying the best builds for your Sacred Hunter, it needs to be focused on making your Basic Attacks as potent as possible.
As such, this build takes advantage of the class's passive 30% Combo (P1) and 40% Attack boost from Crits (P5), prioritizing the following stats to ensure your attacks are as lethal as they can be:
Stats

| Stat | Description |
|---|---|
| Attack | Increases the amount of outgoing damage applied. |
| Attack Speed | Number of attacks performed per second. |
| Critical (Critical Rate) | The chance to enhance Basic Attack Damage, Combo Damage, or Counter Damage. |
| Critical Damage | The percentage of extra damage applied to Basic Attack Damage, Combo Damage, or Counter Damage. |
| Combo (Combo Rate) | The chance for multiple hits to be performed by a single Basic Attack. |
| Combo Multiplier (Combo Damage) | The percentage of damage applied to a Basic Attack upon a successful Combo. |
As you can see, multiple stats affect this Sacred Hunter build's final DPS values.
Ideally, get gear with the most points in Attack, Attack Speed, and Critical first to benefit from the class's overall kit before investing in the others (Combo, etc.) via other avenues (Relics, Souls, etc.).
Skills
| Skill | Effect(s) |
|---|---|
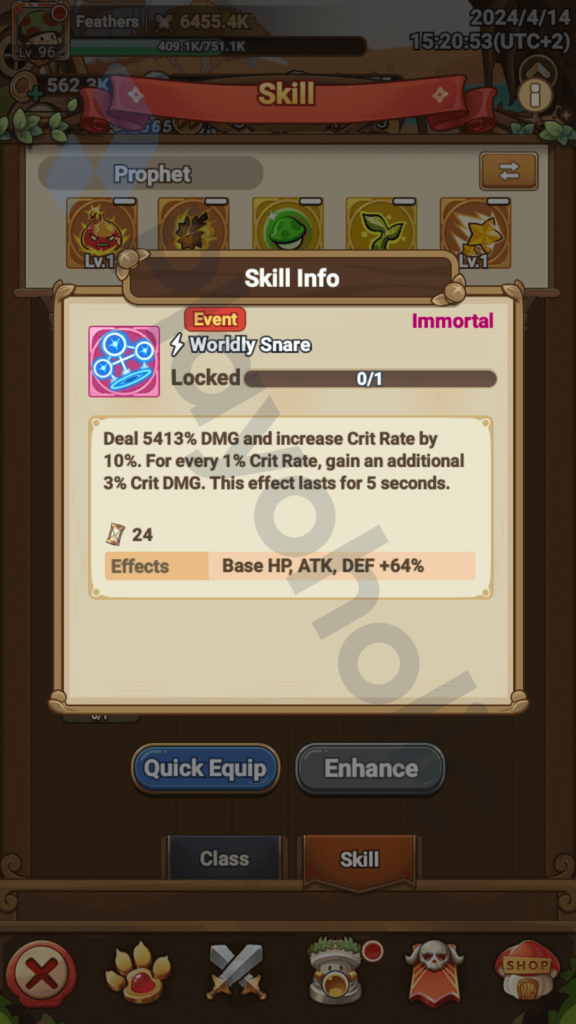
 Worldly Snare | Deals more than 5000% damage and increases Critical Rate by 10%. Every 1% Critical Rate increases Critical Damage by 3% (5s). Cooldown: 24 seconds |
 Windborne Arrow | Deals more than 2000% damage before inflicting Vulnerability* (5s). *Vulnerability: Enemies affected suffer an additional 100% damage from non-skill damages Cooldown: 19 seconds |
 Clone Strike | Summons a clone of your character, borrowing 30% of their HP and dealing 200% Basic Attack Damage (10s). Cooldown: 29 seconds |
 Wild Gust | Inflicts upwards of 2000% AoE damage while increasing Attack by 15% (5s). Cooldown: 16 seconds |
 Smoke Bomb | Inflicts more than 2000% AoE damage before increasing the damages taken by affected enemies by 30% (5s). Cooldown: 13 seconds |
This Sacred Hunter build's best Skills comprise those that complement your Basic Attacks, especially Worldly Snare and Windborne Arrow.
Smoke Bomb is the opener for each cycle, particularly because its cooldown is the shortest!
Pals

| Pal | Effect(s) |
|---|---|
 Pirate Octopus | Combo Damage is increased by 60%. After every 3 successful Combos, the next Combo Damage is increased by another 200%. |
 Righteous Banana | Increases Combo by 10%. Increases Combo Damage by 100%. |
 Hero Bird | Increases Attack Speed by 15%. |
 Chicken Hood | Increases Basic Attack Damage by 30%. |
 Benny | Increases Critical Rate by 5%. 30% chance for Benny's attacks to launch targets airborne for 0.5 seconds. |
The best Pals for this build are those playing around Combos and Criticals.
So, all of the chosen Pals justify their inclusion, including the Hero Bird and Chicken Hood which are both still crucial to this end-game setup.
Relics
| Relic | Effect(s) |
|---|---|
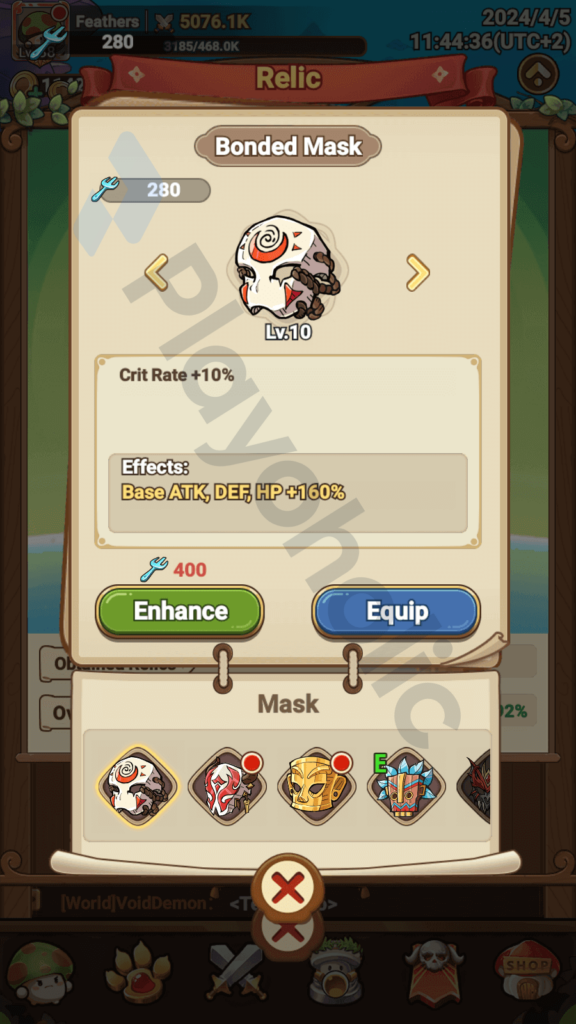
 Bonded Mask | Increases Critical Rate by 10%. |
 Gilded Eggshell | Every 10 seconds, Chicken Pals continuously throw 5 eggs, dealing a total of more than 400% damage. |
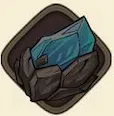 Metamorphic Crystal | Every 10 seconds, Chicken Pals continuously throw 5 eggs, dealing more than 400% damage. |
 Flame Book | Upon entering battle, Attack is increased by 1% every second (up to a maximum of 10%). |
 Stellar Statue | The duration of Hundred Slashes, Worldly Snare, and Star Array is increased by 50%. |
 Crimson Sickle Necklace | After using Wild Gust or Blade Pierce, restore 2.5% of max HP. |
Your Relics are based on your Skills and Pals, so we recommend these for our best Sacred Hunter build here.
Souls

| Soul | Effect(s) |
|---|---|
 Bloodstained Blade | Global Attack + Healing Rate + |
 Eye of the Abyss | Critical Damage Bonus Skill Crit Damage + |
 Blade Duo | Combo Damage + Boss Damage + |
 Wildfire Piercer | Basic Attack Damage + Skill Damage + |
 Basic Attack Damage | Basic Attack Damage + |
 Combo Damage | Combo Damage + |
 Critical Damage Bonus | Critical Damage Bonus |
 Attack | Attack + |
Souls that add even more value to your Attack, Criticals, and Combos should be a given! The only issue is getting them from the randomized Soul Prayer pool, but you can improve your luck by learning more about it here:
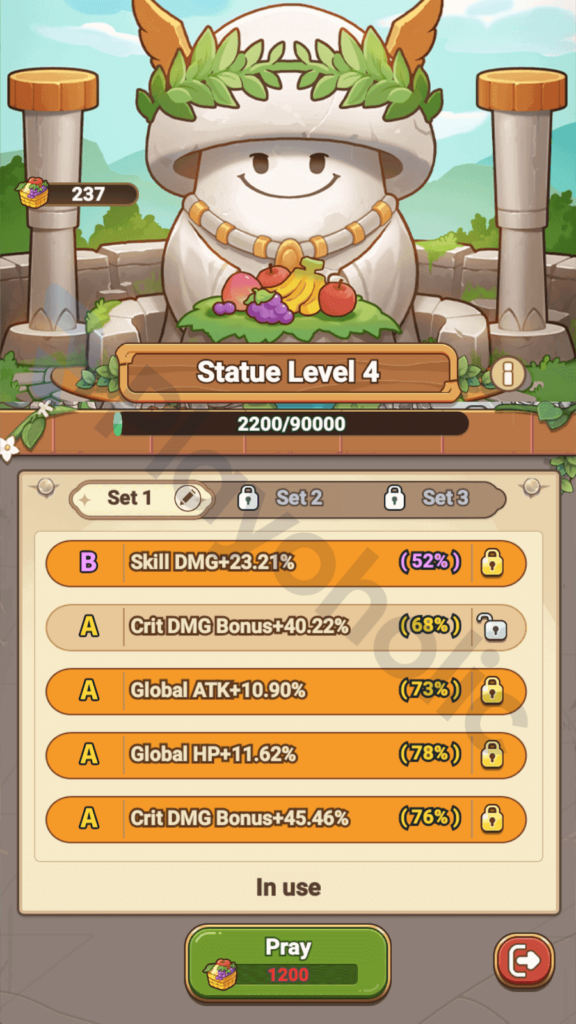
Prayer Statue
| Stat Bonus |
|---|
| Global Attack |
| Global Combo Damage |
| Critical Damage Bonus |
| Boss Damage |
| Etc. |
The Prayer Statue is where you get huge last-minute buffs to some of your Shroomie's stats. Based on what we've managed to unlock thus far, these affixes should be locked over the others.
Pure Damage Build
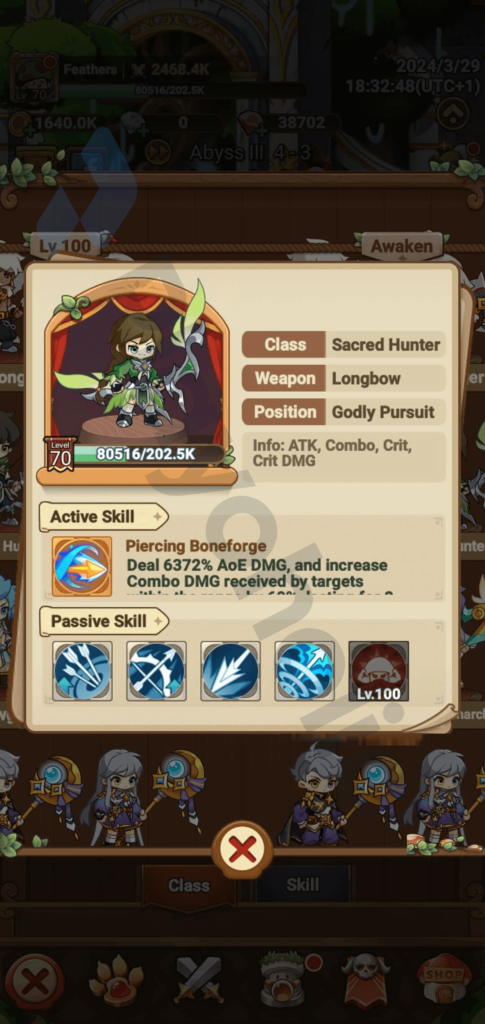
For a more streamlined Sacred Hunter build, this one is easier to understand and set up. Essentially, you're channeling all values to Basic Attack, Attack Speed, and Criticals, getting a more consistent DPS yield overall.
Stats

| Stat | Description |
|---|---|
| Attack | Increases the amount of outgoing damage applied. |
| Attack Speed | Number of attacks performed per second. |
| Critical (Critical Rate) | The chance to enhance Basic Attack Damage, Combo Damage, or Counter Damage. |
| Critical Damage | The percentage of extra damage applied to Basic Attack Damage, Combo Damage, or Counter Damage. |
| Skill Damage | Total damage values inflicted by Skills. |
As implied, these stats are the only ones you should be improving, with Skill Damage added as a bonus attribute for you to bolster your Skills' potency.
Skills

| Skill | Effect(s) |
|---|---|
Worldly Snare | Deals more than 5000% damage and increases Critical Rate by 10%. Every 1% Critical Rate increases Critical Damage by 3% (5s). Cooldown: 24 seconds |
Windborne Arrow | Deals more than 2000% damage before inflicting Vulnerability* (5s). *Vulnerability: Enemies affected suffer an additional 100% damage from non-skill damages Cooldown: 19 seconds |
Wild Gust | Inflicts upwards of 2000% AoE damage while increasing Attack by 15% (5s). Cooldown: 16 seconds |
Smoke Bomb | Inflicts more than 2000% AoE damage before increasing the damages taken by affected enemies by 30% (5s). Cooldown: 13 seconds |
 Coin Bomb | Deals more than 1000% Damage while increasing Basic Attack Damage by 35% (5s). Cooldown: 13 seconds |
While many Skills remain the same, Coin Bomb replaces Clone Strike to elevate your Basic Attack's lethality, directly impacting your Sacred Hunter's Critical Damage potential!
Pals

| Pal | Effect(s) |
|---|---|
 Treasure Dragon | Increases Basic Attack Critical Damage by 50% and Skill Critical Rate by 20%. |
Hero Bird | Increases Attack Speed by 15%. |
 Fiery Tail | Increases Skill Damage by 60%. |
Chicken Hood | Increases Basic Attack Damage by 30%. |
Benny | Increases Critical Rate by 5%. 30% chance for Benny's attacks to launch targets airborne for 0.5 seconds. |
Only a few Pals get replaced, introducing the Treasure Dragon and Fiery Tail to uphold the build's emphasis on Basic Attacks being supplemented by Criticals and Skill Damages.
If you're having trouble getting your preferred Pals, give our Pal Coupon guide a read!
Relics
| Relic | Effect(s) |
|---|---|
Bonded Mask | Increases Critical Rate by 10%. |
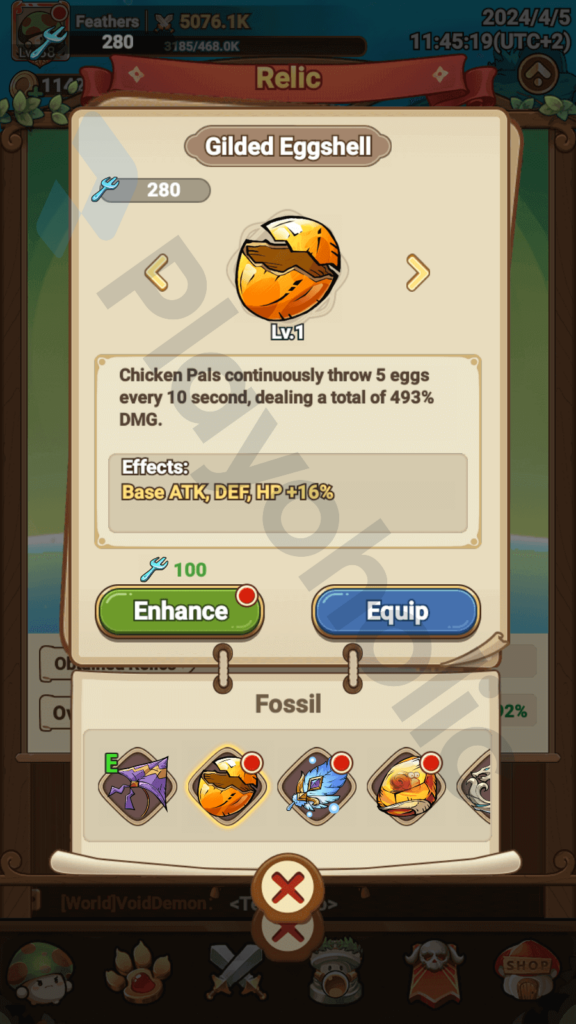
Gilded Eggshell | Every 10 seconds, Chicken Pals continuously throw 5 eggs, dealing more than 400% damage. |
 Blue Snowflake | Every 12 seconds, Snow Sprite Pals throw a massive snowball that deals around 800% damage. |
Flame Book | Upon entering battle, Attack is increased by 1% every second (up to a maximum of 10%). |
 Crystal Statue | Improves the effects of Coin Bomb, Slime Bomb, and Meteor Fall by 30%. |
 Abyss Necklace | Increases the damage of Dragonic Resonance, Windborne Arrow, and Crimson Moonfall by 30%. |
This assortment of Relics isn't too different from our earlier Sacred Hunter build. However, the Blue Snowflake is added because:
- No 3rd-slot Relic corresponds to this build's Skill and Pal lineups
- Allows wiggle room for the Snow General (Pal) to replace the Fiery Tail (Pal) if you want to slow enemies' attacks to prolong your Shroomie's survivability
Hence, having it picked is better than not, notably for the Relic's passive HP, Attack, and Defense stat increases!
Souls

| Soul | Effect(s) |
|---|---|
Bloodstained Blade | Global Attack + Healing Rate + |
Eye of the Abyss | Critical Damage Bonus Skill Crit Damage + |
Blade Duo | Combo Damage + Boss Damage + |
Wildfire Piercer | Basic Attack Damage + Skill Damage + |
Basic Attack Damage | Basic Attack Damage + |
Critical Damage Bonus | Critical Damage Bonus |
Attack | Attack + |
 Skill Damage | Skill Damage + |
The Souls to be prioritized should be as illustrated, switching the previous build's Combo Damage (Soul) to Skill Damage (Soul) instead, making the most of Smoke Bomb and Coin Bomb‘s short cooldowns!
Prayer Statue

| Stat Bonus |
|---|
| Global Attack |
| Global Combo Damage |
| Critical Damage Bonus |
| Skill Damage |
| Etc. |
For the Prayer Statue, lock these affixes if you can get them. We know it'll take some time to get what you want, so be sure to explore our guide on the matter as well:
Conclusion

The Sacred Hunter feels more grounded than Joy Nice Games‘s other Legend of Mushroom classes. Still, this does make it easier for you to achieve the ideal Sacred Hunter build in-game, cementing your decision to evolve into the Archer very early on.

