


An indie developer does not always need to rebuild a 3D model to make an Android game look different. Updating its textures and materials can give an existing character, prop or environment a new identity while preserving the underlying geometry, rig and animations.
AI-assisted texturing can accelerate this process by generating an initial surface treatment from a written description. However, attractive textures are only part of the job. Android developers must also consider UVs, material behaviour, texture memory and performance across different devices.
Why Retexture an Existing Model?
Reusing a working mesh can save time when the geometry already meets the project’s requirements.
A developer might retexture an asset to:
● Match a revised visual direction
● Create enemy or item variations
● Update an older prototype
● Produce seasonal content
● Test different material styles
● Give repeated objects more visual variety
For example, one shield model could support wooden, iron and magical variants without requiring three separate meshes. A building could be repainted for different regions of the game while retaining its collision and level-of-detail setup.
This approach is especially useful for small teams that cannot create every variation from the beginning.
Check the Model Before Texturing
New textures cannot correct every problem. Inspect the model before beginning and confirm that its geometry, scale and surface normals are suitable.
The UV layout is particularly important. UVs determine how a flat texture wraps around a three-dimensional surface. Overlapping, stretched or poorly packed UV islands can produce blurred details and visible distortion.
Check for:
● Stretched UV areas
● Unintended overlapping islands
● Insufficient space between islands
● Seams placed on highly visible surfaces
● Inconsistent texture density
● Reversed or broken surface normals
If the asset is animated, test its movement as well. A texture can appear correct in a neutral pose but stretch around joints when the character bends.
Repairing these issues first creates a more reliable base for either automated or manual texturing.
Define the New Visual Direction
A texturing prompt should describe the surface rather than redesign the whole object.
Useful details include:
● Primary materials
● Main colours
● Age and condition
● Surface finish
● Amount of wear
● Intended art style
For example:
A stylised bronze shield with a dark green painted centre, worn edges, light scratches and a matte fantasy-game finish.
This prompt identifies both the material and its condition. It is more useful than asking for “an epic shield texture,” which leaves too many decisions undefined.
Reference images can help establish colour and material direction, but developers should use images they own or have permission to use. Avoid asking a tool to reproduce a protected character or another game’s distinctive visual identity.
Generate an Initial Texture
Developers can use AI texturing to create an initial texture treatment for an existing model. This can make it easier to test several visual directions before choosing one for manual refinement.
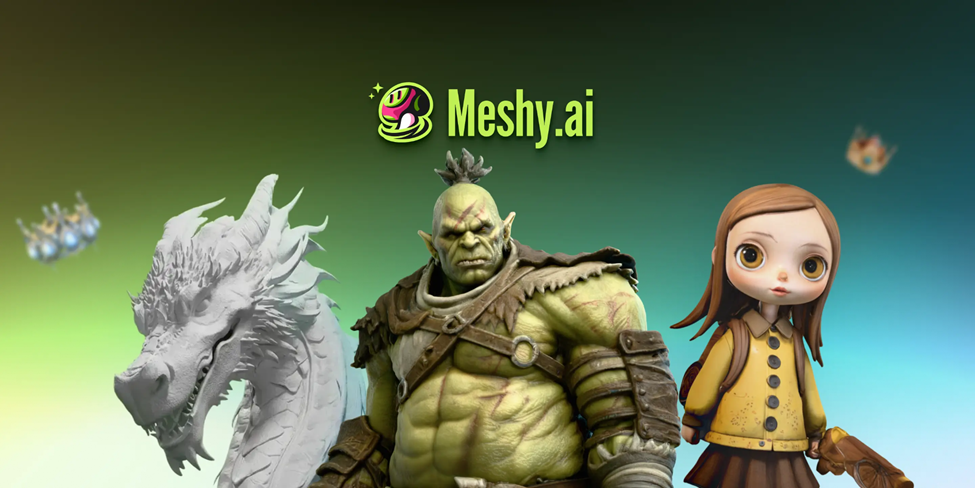
The generated result should be evaluated from every angle. AI may interpret broad surfaces convincingly while producing weaker results around small accessories, narrow gaps or complex UV seams.
Check whether:
● The intended materials are easy to recognise
● Colours remain consistent across the asset
● Wear appears in logical areas
● Important features remain readable
● Seams are difficult to notice
● The texture matches the rest of the game
A strong generated preview does not guarantee that the exported maps will behave correctly inside the game engine.
Understand the PBR Maps
Many modern games use physically based rendering, or PBR, to describe how materials react to light.
Common texture maps include:
● Base colour or albedo
● Roughness
● Metallic
● Normal
● Ambient occlusion
● Emission
Each map serves a different purpose. Base colour defines the surface colour, while roughness affects the sharpness of reflections. Metallic information identifies surfaces that behave like metal, and normal maps create the appearance of smaller geometric detail.
Review the maps individually. A sword may look convincing in one preview even if its metallic values are inconsistent. Once placed under different lighting, the blade could appear more like plastic than steel.
AI-generated maps may provide a useful starting point, but important assets often require manual adjustments.
Match Texture Resolution to the Asset
Large textures can preserve fine details, but they also increase memory use and download size. A high-resolution map is difficult to justify when the object appears only briefly or occupies a small part of the screen.
Choose texture size according to:
● Normal viewing distance
● On-screen size
● Importance to gameplay
● Number of times the asset appears
● Target device range
● Complexity of the surrounding scene
A main character may need more texture detail than a crate in the background. Roughness and metallic maps may sometimes work at lower resolutions than the base-colour map without causing a noticeable difference.
Do not select the highest available resolution automatically. Test whether players can actually see the additional detail on a typical phone screen.
Reduce Material and Texture Costs
Android games must operate across devices with different memory, graphics and thermal limits. Texture decisions can affect both frame rate and battery use.
Google’s Android texture optimisation guidance recommends practices such as selecting appropriate texture sizes, using compression, creating texture atlases and avoiding details that players cannot perceive.
A texture atlas combines the surfaces of several objects into one image. This can reduce the number of separate texture files and may help lower draw-call overhead when assets share a material.
Developers can also pack grayscale information into different channels of one texture. Ambient occlusion, roughness and metallic data are common candidates. The game engine must be configured to interpret those channels correctly.
Mipmaps should be considered for objects viewed at changing distances. They provide lower-resolution versions of a texture for distant rendering, helping reduce visual flicker and memory-bandwidth demands. They do increase the texture’s memory footprint, so they may be unnecessary for interface elements or assets displayed at a fixed size.
Select Appropriate Android Compression
Uncompressed textures can consume substantial memory. Android game engines commonly support formats such as ASTC and ETC2, although compatibility depends on the targeted devices and graphics APIs.
Compression settings involve a trade-off between file size and visual quality. Strong compression may introduce blocks, colour shifts or damaged normal-map detail.
Test compression on the actual asset rather than relying only on general presets. Faces, text, sharp symbols and subtle gradients may require higher-quality settings than broad environmental surfaces.
If the game targets a wide device range, developers may need more than one texture-quality configuration.
Test in the Complete Game Scene
Always judge the retextured asset inside the game.
Import the maps, configure their colour-space settings and inspect the result under representative lighting. Base-colour textures usually use colour processing, while data maps such as roughness, metallic and normals generally require different settings.
Then test the asset during normal gameplay. Look for:
● Visible seams
● Shimmering at a distance
● Incorrect reflections
● Blurred important details
● Increased loading time
● Memory spikes
● Frame-rate changes
Testing should include lower-end target devices, busy scenes and extended play sessions. A model that performs well in an empty editor view may behave differently when combined with characters, effects and environmental assets.
Use Automation as an Iteration Tool
AI texturing is most valuable when it makes experimentation faster. It can help developers compare styles, create early variations and find a stronger direction for an existing asset.
It does not remove the need to understand UV layouts, PBR materials, compression or mobile performance. Those technical decisions determine whether a visually appealing texture is appropriate for an Android game.
For indie teams, the practical goal is not to generate the largest number of textures. It is to find a look that supports the game while remaining readable, consistent and efficient on the devices players actually use.