


Overlook to PDF on Android with UPDF for Android (a Free Way)
UPDF for Android is a good option if you want a free and simple way to view documents on Android. It allows druggies to convert images into PDFs snappily without demanding fresh tackle. The process is freshman-friendly and only takes many ways.
Step 1: Downloading the UPDF from Google Play
First, open the Google Play Store on your Android device.
Hunt for UPDF and install the app.
Once the installation is complete, open the operation and allow the necessary access, such as camera and storehouse access. These warrants are needed for scanning and saving PDF lines.
Step 2: Creating a Blank PDF in UPDF
After launching the app, tap the “produce” option on the home screen.
Select Blank PDF to start creating a new PDF train. This step prepares a workspace where you can import images that will later be converted into a PDF document.
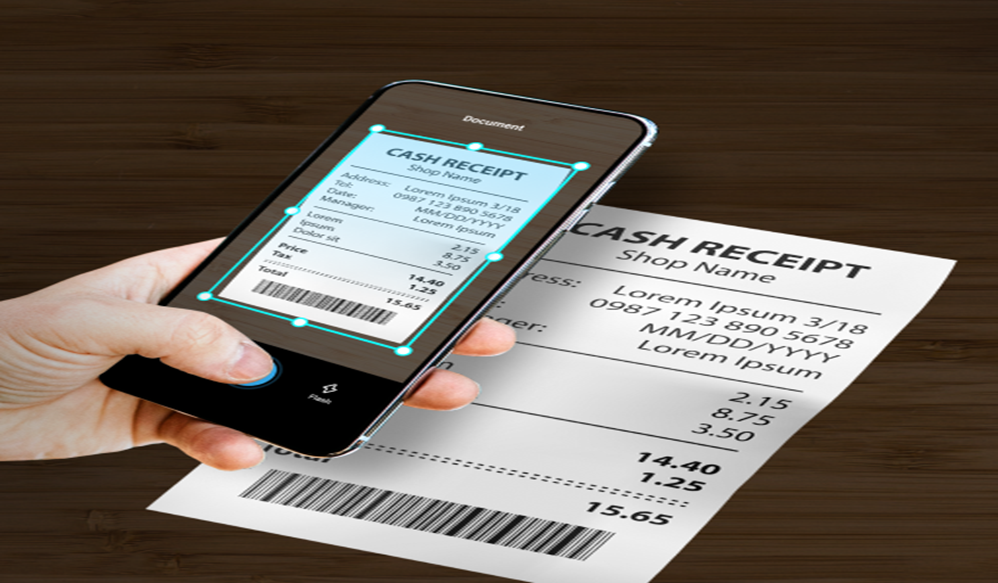
Step 3: Importing Your Image
Next, tap the Import Image or Add Image option.
You can either
● Take a print of the document using your phone’s camera, or
● Select a clear image from your phone's gallery.
Once the image is added, UPDF will convert it into a PDF automatically. However, you can add multiple images to produce a multi-page PDF train, if demanded.
Cons of Using UPDF
Although UPDF is a free and accessible result, it has some limitations
● The checkup quality depends on your phone's camera.
● It may bear homemade adaptations like cropping or alignment.
● Some advanced features may bear a decorative interpretation.
Still, for quick particular use, it remains an easy and accessible system for Android users.
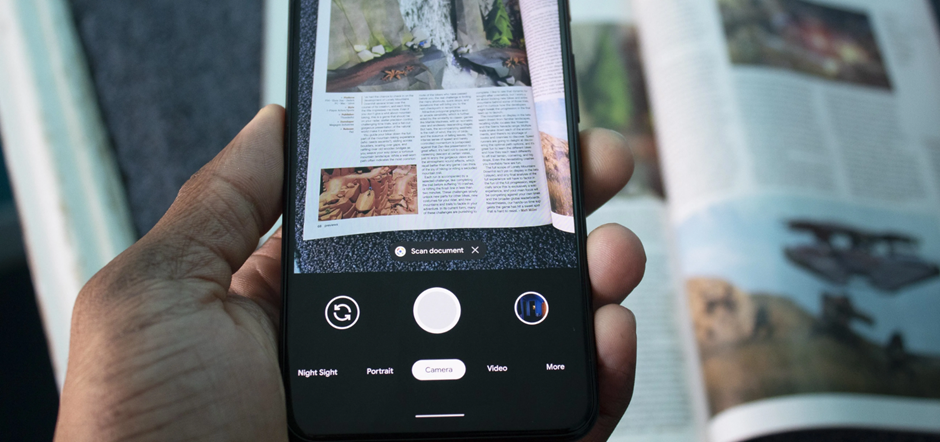
Overlook to PDF on Android with Google Drive (a Fast Way)
Another fast and easy system to view documents on Android is using Google Drive. Since numerous Android devices originally have Google Drive installed, users can access documents directly without downloading fresh apps.
Step 1: Capture Your Image with Google Drive
● Open the Google Drive app on your Android device.
● Tap the “(Add)” button located in the nethermost corner. From the menu, select overlook.
● Your phone’s camera will open automatically. Place the document on a flat surface and take a clear picture of it.
Google Drive will automatically convert the image into a scrutinized document.
Step 2: Confirming the scrutinized Image
After landing the document, Google Drive allows you to make quick adaptations before saving.
You can:
● Crop the image to remove unwanted areas
● Rotate the runner for correct alignment
● Acclimate color settings similar to color, grayscale, or black & white
Once you finish editing, click Save, and the document will be stored as a PDF train in your Google Drive account.
Cons of Using Google Drive
Although Google Drive has a fast scanning result, it has some downsides.
● It provides limited editing features compared to other scanning apps.
● The overlook quality may vary depending on the lighting and camera clarity.
● It may not handle large batches of documents efficiently.
Still, for druggies who need to overlook documents and upload them directly to the pall storehouse, Google Drive remains a practical choice.
Scanning a PDF with a CZUR Document Scanner (an effective way)
Step 1: Setup and Software Installation:
● Place the scanner on a stable, flat surface and lay out the black document mat. Connect the power adapter and USB cable to your computer. If you have a foot pedal or hand button, plug it into a USB port as well.
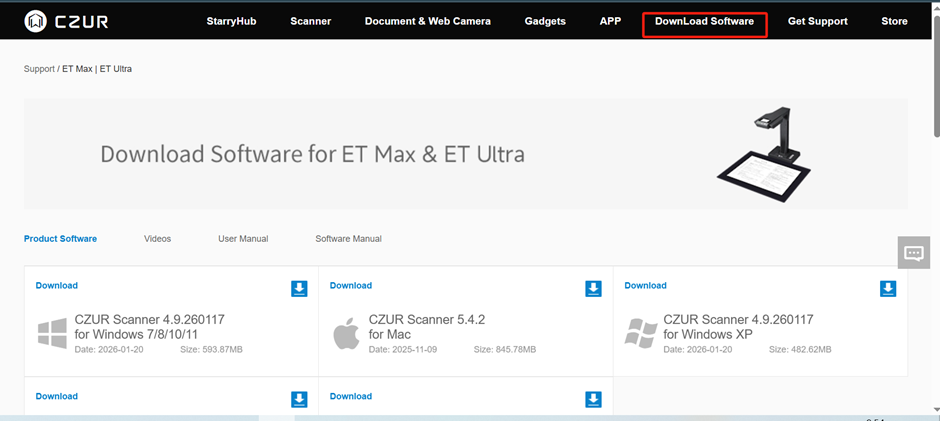
● Then download and install the scanning software from the CZUR official website. Launch the software and enter the device serial number (SN) to activate it.
Step 2: Prepare the Book
● Open the software and keep it in Scanner mode. Place the book on the black mat and align it with the center guideline on the screen. Make sure no other objects appear in the scanning area.
Step 3: Choose Scan Settings
● Click Scan and select a color mode (color, black & white, or grayscale).
For books, choose Facing Pages mode, which automatically splits the left and right pages.
Step 4: Scan and Edit
● Click Auto Scan to start scanning. The scanner will capture pages as you turn them. After scanning, you can make simple edits such as cropping, rotating, adjusting contrast, or batch processing pages.
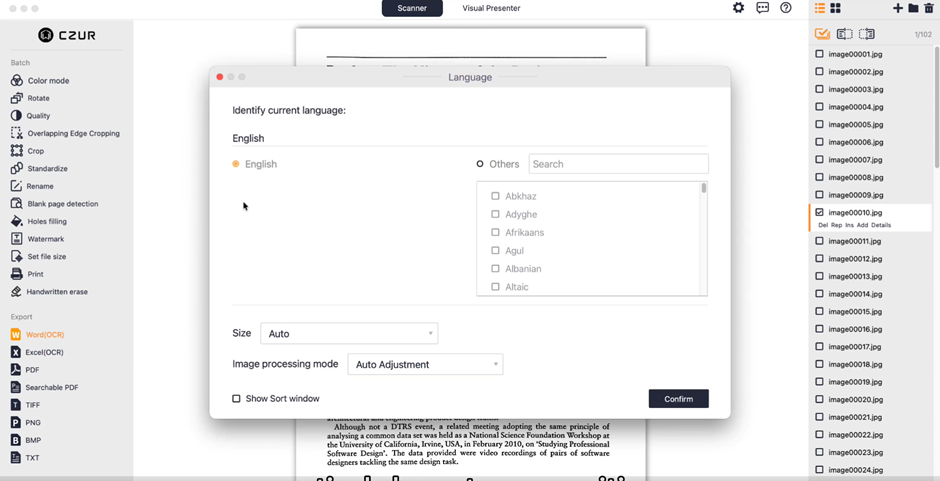
Step 5: Export with OCR
● Finally, export the file as a PDF or searchable PDF and enable OCR. This allows the text to be searchable and editable, making it easier to use with AI tools later.
Step 6: Upload to Google Drive
Files scanned with a CZUR scanner are not uploaded directly to the cloud; instead, they are first saved locally on your device and then manually uploaded to cloud storage platforms such as Google Drive for management and access.
Why and When to Choose a CZUR Document Scanner?
While this workflow may seem a bit more involved—since files need to be scanned to a computer first, saved locally, and then uploaded to cloud storage like Google Drive—it offers clear advantages for users who deal with large volumes of documents or need high-quality book digitization.
Unlike basic mobile scanning apps, CZUR document scanners are specifically designed for efficient, high-volume scanning. Features like automatic page detection, curve flattening for bound books, and hands-free operation (with foot pedals or auto-scan) significantly speed up the process while maintaining consistent image quality. For anyone digitizing books, archives, or professional documents, these capabilities can save hours of manual work.
Once your files are scanned and exported as searchable PDFs with OCR, uploading them to Google Drive becomes a simple final step. From there, you can seamlessly access your documents on your Android device anytime, anywhere. In this way, CZUR scanners combine the reliability and precision of dedicated hardware with the flexibility of cloud storage—making them an excellent choice for users who prioritize efficiency, quality, and long-term digital organization.
FAQS About Scan to PDF on Android
1. Which is the best way for you?
It depends on your needs. Mobile apps are best for quick and free scans, while CZUR scanners are ideal for high-quality and bulk scanning.
2. How do you scan multiple pages into one PDF on Android?
Use a scanning app, scan each page, tap Add page, and then save as one PDF.
3. How do you scan a QR code from a PDF on Android?
Take a screenshot of the QR code, then scan it using Google Lens or any QR scanner app.
4. What Intelligent Features Does the CZUR Document Scanner Offer?
It offers OCR, auto-cropping, page flattening, fast scanning, and multiple export formats like PDF and Word.
Conclusion:
CZUR document scanners deliver an efficient, automated, and high-quality scanning experience for documents and books through features such as AI-powered curve flattening, automatic page-turn detection, smart page splitting, OCR recognition, and intelligent image processing.