


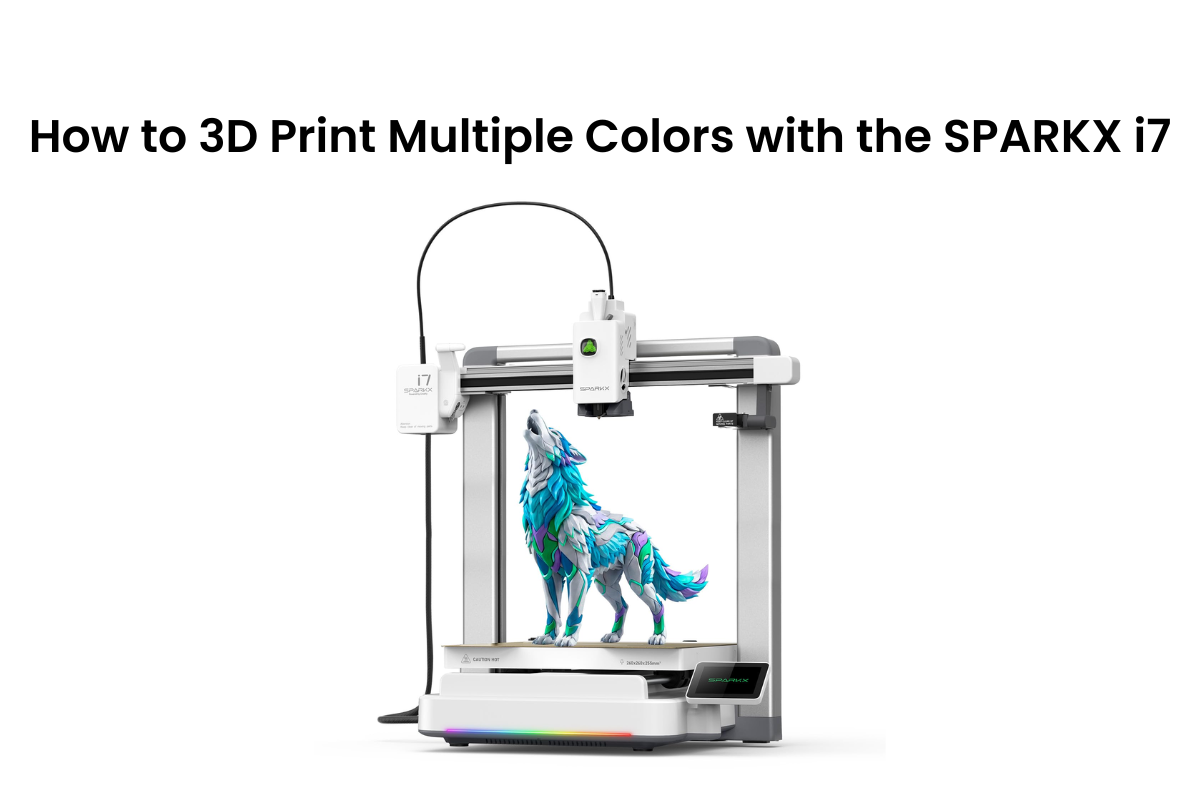
Multicolor printing is no longer stopping mid-print, replacing filament manually, and hoping the layers line up right. The SPARKX i7 changes that. Combine it with a Creality Filament System (CFS) unit, and the printer switches colors by itself, mid-print, without manual filament changes. Today’s guide explains the complete process for multicolor 3D printing.
Let's start with what you actually need before your first multicolor print.
What You Need for Multicolor Printing on the SPARKX i7
The standard SPARKX i7 prints one color at a time. The base printer does not include multicolor hardware out of the box. To print multiple colors, you need to add a CFS unit.
Here's what a working multicolor setup requires:
- A SPARKX i7 multi-color 3D printer, running Creality Print 6.3 or a newer version
- A CFS add-on unit that supports multicolor printing, either CFS nano or CFS Lite
- An RS485 (6-pin) cable to connect the CFS unit to the printer
- Multiple filament spools, one per color, matched to your slot count (up to 4 colors)
Not every CFS unit does the same job. Here's how the two multicolor-capable options compare:
| Feature | CFS nano | CFS Lite |
| Filament slots | 4 | 4 |
| Multicolor support | Yes | Yes |
| Drying | None (open storage) | Desiccant drying |
| Filament ID | Manual | Automatic (RFID, Creality filaments) |
| Filament compatibility | PLA / PETG / PLA-CF | PLA / PETG / PLA-CF / TPU (64D or harder) |
| Best for | Compact, space-saving setups | Moisture-sensitive filament, heavier use |
One thing worth noting: CFS Mini isn't on this list. It's built for filament saving and auto-refill, not multicolor printing; it doesn't support color switching at all.
Creality also sells the SPARKX i7 in a few bundled configurations: Nano Combo, Color Combo, and Autofill Combo, and they don't all include the same accessories. The Nano Combo pairs with the CFS Nano.
The Color Combo is built around the larger CFS Lite and is the only version that ships fully assembled. The Autofill Combo is focused on hands-off filament feeding rather than color switching.
If multicolor printing is your goal, check which CFS unit a bundle actually includes before you order.
How to Set Up the Multicolor System?
Once you have the printer and a multicolor-capable CFS unit, setup takes a few careful steps. Rush this part, and you'll run into the most common early mistakes: mismatched slots, tangled spools, failed color changes mid-print.
Step 1: Connect the CFS unit
Plug the RS485 (6-pin) cable into both the printer and the CFS unit. One cable carries both power (24V DC) and data, so you don't need a separate power adapter. If you want to understand how the printer and CFS unit talk to each other during a print, this breakdown of how the SPARKX i7 works is worth a read before you start.
Step 2: Load your spools
Each CFS unit has its own spool limits:
- CFS nano: inner diameter 32–70 mm, outer diameter up to 220 mm, width 10–70 mm
- CFS Lite: 1 kg spools, 195–202 mm diameter, 42–68 mm thickness
Load one spool per slot. Feed the filament in until the auto-load function catches it, you shouldn't need to force it.
Step 3: Let auto-load do the work
Both CFS nano and CFS Lite support auto filament load and unload. Once a spool sits correctly, the unit feeds filament to the printer by itself. If a slot won't load, check that the spool is seated properly and the filament tip isn't curled or frayed.
Step 4: Confirm your filament-slot mapping
This is the step people skip and regret later. Each slot needs to match what's actually loaded in it. On the touchscreen, or in Creality Print once connected, check that:
- The slot number matches the correct filament
- The filament type is set correctly (this affects temperature settings later)
- The indicator light shows steady white, not red
A red light means the system isn't reading that slot correctly, so fix it before you slice anything. With CFS Lite and Creality RFID filament, the system identifies filament type on its own. With CFS nano, or with non-RFID spools, you confirm each slot by hand.
Preparing a Multicolor Model
Not every 3D model is ready for multicolor printing. Before you open anything in Creality Print, you need a file that actually tells the printer where each color goes.
There are three practical ways to get there:
Option 1: Use separate parts
If your model is made of multiple individual pieces, say, a body and a lid, you can assign a different color to each part. This works well for simple designs where colors don't need to blend or overlap within a single piece.
Option 2: Use color regions within one model
Some 3D modeling software lets you paint or tag specific regions of a single mesh with different colors. This gives you more detail than separate parts, since one object can carry several colors without being split into pieces.
Option 3: Use a ready-made 3MF project file
This is the most reliable route, especially if you're new to multicolor printing. A 3MF file can carry color data built right into it, so the model arrives already mapped for multicolor printing. Creality maintains a library of ready-to-print multicolor models in this format, which removes the guesswork of assigning colors from scratch.
A practical tip: if you're just starting, print a ready-made 3MF file first. It lets you learn how the CFS system behaves, purge patterns, color transitions, and print time before you tackle your own color mapping.
How to Import Your Model and Assign Colors in Creality Print
With your model ready, bring it into the slicer.
Step 1: Open Creality Print and select your printer
When you launch Creality Print for the first time, select the SPARKX i7 as your printer model and confirm your nozzle diameter (0.4mm is standard, unless you've swapped to a different size). This loads the correct printer profile, including its build volume and speed limits.
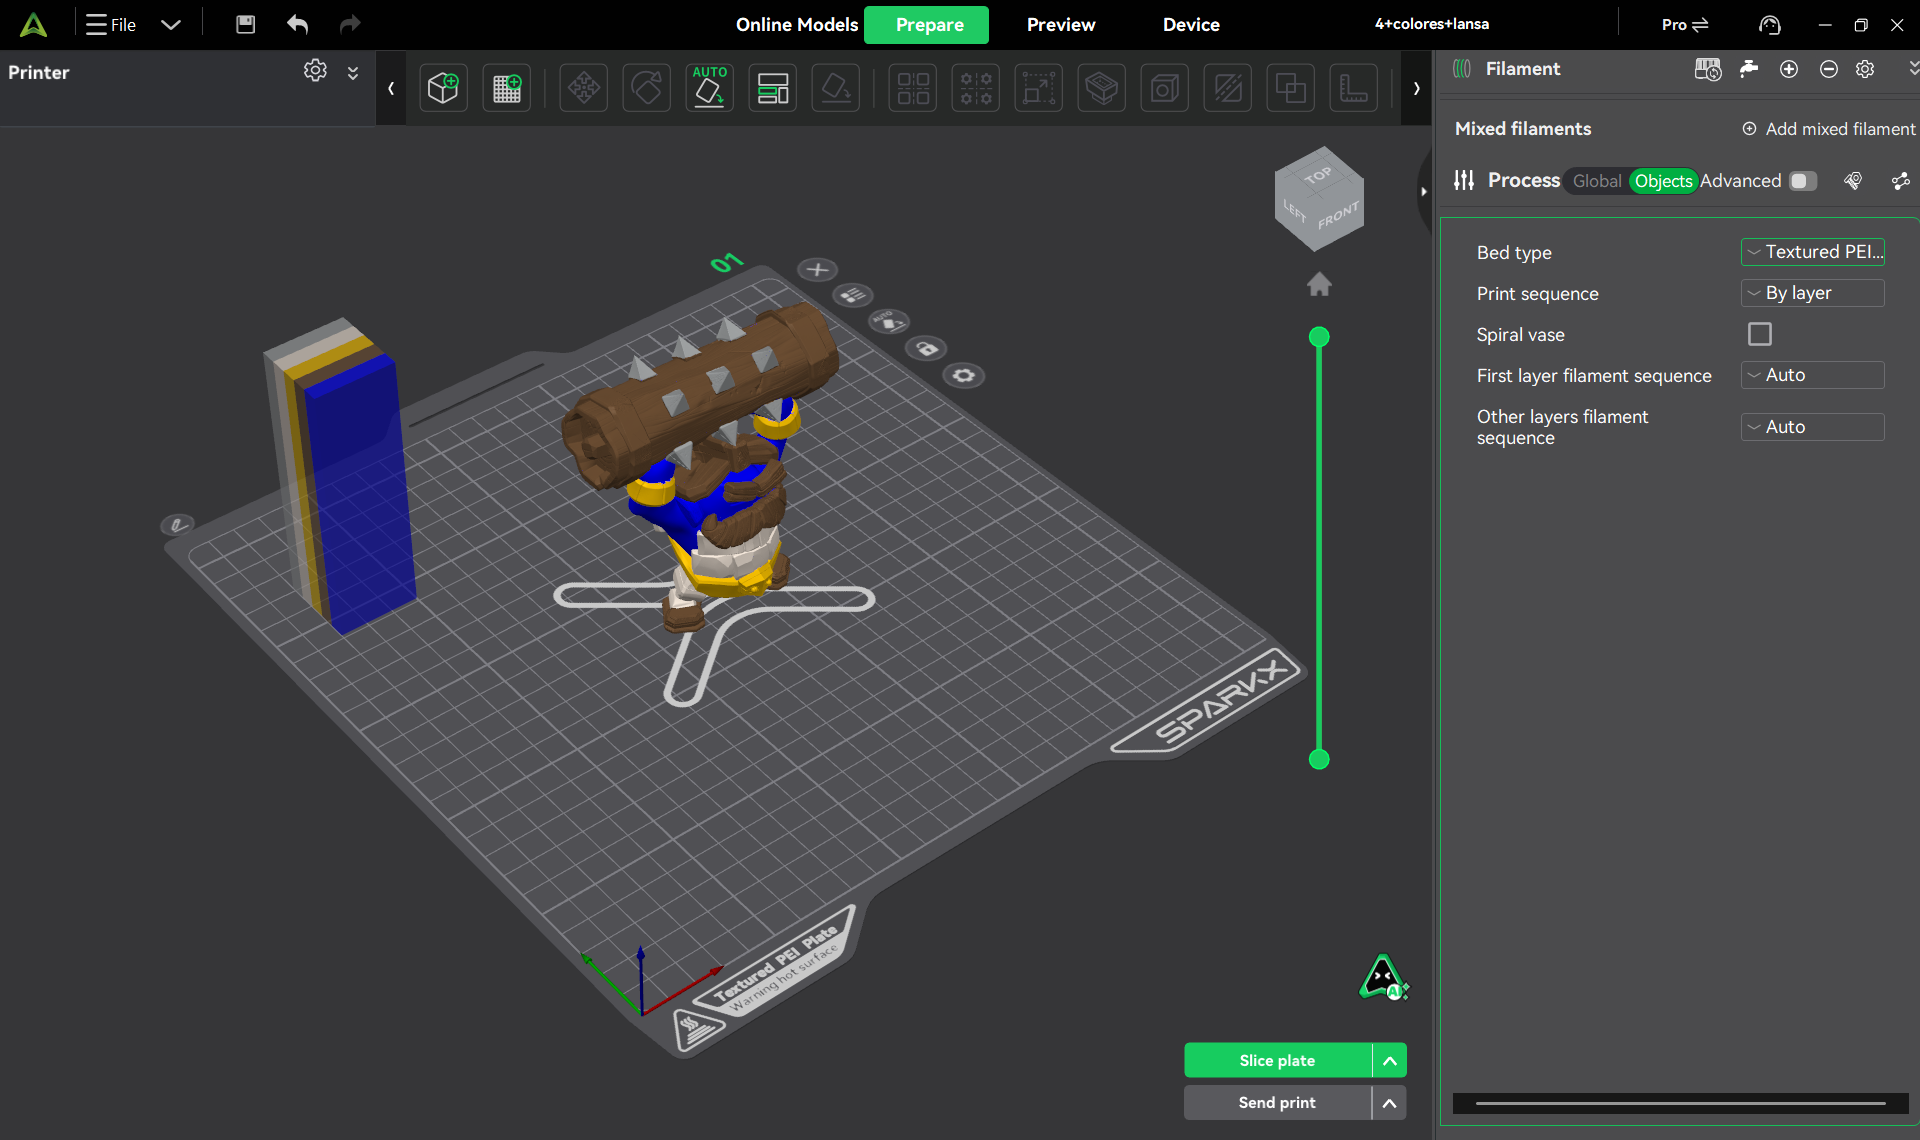
Step 2: Import your model
- For a 3MF project file with color data already built in, use the File menu and select Open Project. The model loads with its color assignments intact, no manual setup needed.
- For separate parts or an unmapped model, import the file normally, then assign each part or region to a color slot yourself.
Step 3: Assign colors to filament slots
In the slicer, match each color in your model to the physical slot holding that filament. For example, if slot 1 holds red PLA, make sure every red section of your model points to slot 1, not just visually, but in the actual slot assignment.
A simple way to avoid mistakes here:
- Label your spools before loading them (a piece of tape with the color name works fine)
- Match slot numbers to colors on paper first, then confirm the same mapping in the software
- Double-check the assignment for every color in the model, not just the first one
Step 4: Confirm the printer profile is current
Slicer profiles get updated over time. Before your first print, check that you're running Creality Print 6.3 or newer, since older versions may not fully support the SPARKX i7's multicolor features. Menu layouts can shift between updates, so if something looks different from what's described here, Creality's official software documentation will reflect the current version.
How Do You Preview a Multicolor Print Before Starting?
Preview catches mapping errors before they cost you filament and time.
What to check
- Color accuracy per section
- Purge tower size: reasonable, or unusually large?
- Transition points: do colors switch where expected?
- Slot usage: all slots appearing where planned?
Preview steps
- Slice first; preview only works on a sliced file
- Move through layers with the slider
- Pause at each color change to confirm it's correct
- Check estimated print time and filament use
If something looks off in preview, it will look off on the print. Catching it here costs two minutes. Catching it after costs the whole build.
How Do You Start and Monitor Your First Multicolor Print?
Your model is prepped, checked, and previewed. Now it's time to print.
Before you start
- Clean build plate, no oils, dust, or leftover filament
- All spools seated, run-out sensors green or white
- Final check of the print preview
Starting the print
Send the sliced file via USB or Wi-Fi, then start from the touchscreen. The printer runs bed leveling, Z-offset, and input shaping automatically.
Monitoring the print
| AI camera detects | Why it matters |
| Spaghetti (failed extrusion) | Catches a failed print early instead of wasting hours |
| Air printing | Flags when the nozzle isn't extruding at all |
| Filament entanglement | Warns before a tangled spool jams the feed |
| Build plate issues | Confirms the plate is clear before printing starts |
Check in every 20–30 minutes, especially at color changes; that's where feeding errors show up most.
Tips to reduce failed prints
- Start with a small, simple model before a detailed one
- Watch the purge tower early; abnormally large means something's misconfigured
- Skip Night Mode for your first print; stay nearby
- Save working settings as a profile for next time
After one clean print, you'll know what normal looks like; troubleshooting gets easier from there.
Conclusion
Multicolor printing on the SPARKX i7 depends on a few things: the right CFS unit, correctly mapped slots, a model with real color data, and a few checks before slicing. No advanced skills needed, just attention to detail. Start with a ready-made 3MF model. Watch how the CFS system handles color changes, and get comfortable with the preview step before building your own multicolor projects. After a few successful prints, the workflow becomes routine.